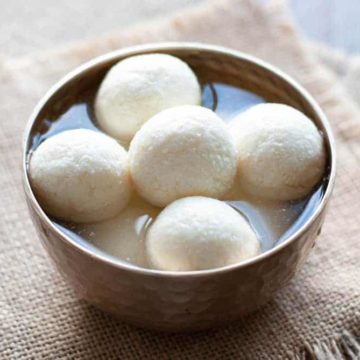
This rasgulla recipe is all about soft, spongy, and light-as-air balls dipped in a sweet sugar syrup. Made with chena, a special milk cheese, here's one Indian dessert you'll not want to miss!
Do try this shakarkandi kheer as well if you are into traditional Indian desserts. It is a rich caramel color and and very tasty, thanks to all those sweet potatoes.
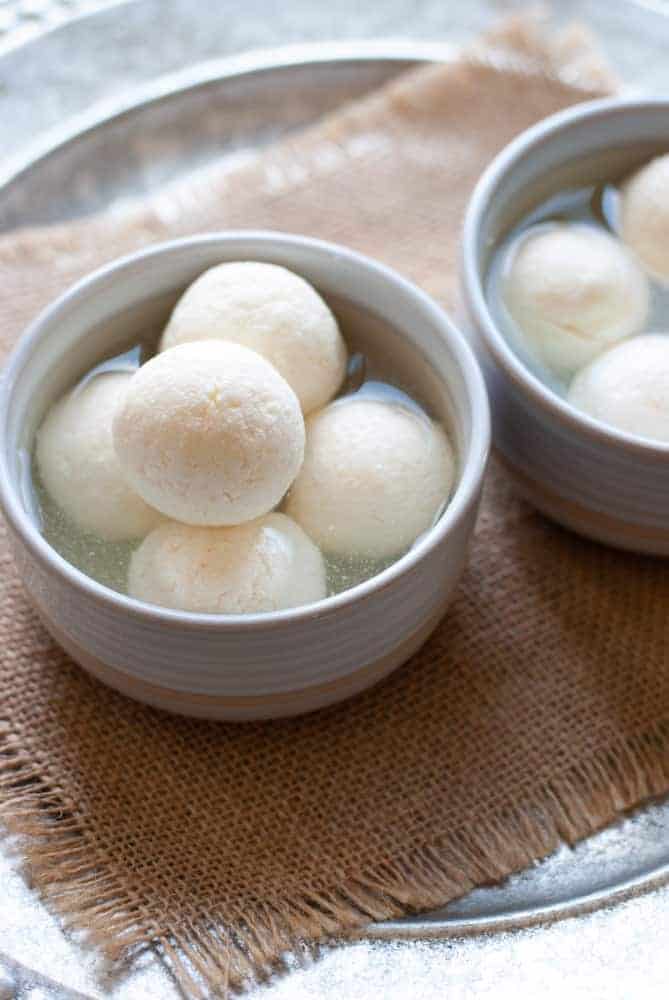
For those who know and relish them, Bengali rasgulla or roshogulla really don't need any introduction. You know the sensation of popping a fat, juicy rasgolla in your mouth and experiencing its delightful sweetness. What you may or may not know is that you don't always have to buy expensive rasgullas from a sweet shop or restaurant. These fluffy balls of sweetness can be made right at home with an easy process and a few simple ingredients. It's just a matter of getting the technique right, and in this post, I will share with you the finer points of making light, spongy rasgullas that never fail. Ever!
For my readers who have never tasted rasgullas (ras - syrup, gulla - ball), they are cheese balls dipped in sugar syrup, an extremely popular dessert in North India. Cheese balls in syrup? I know, this might sound funny and even gross in translation. BUT. This is not your regular cheese, folks. It's an unsalted, super-soft cheese called chena, the not-so-secret ingredient used in most milk-based Indian sweets like rasmalai, chum-chum and sandesh.
Which brings me to another point that needs to be discussed: the difference between chena and paneer or Indian cottage cheese. This is a crucial difference to know about because the process to make both is very similar...and you don't want to end up with paneer instead of chena for making rasgullas!
Difference between paneer and chena
Paneer is used to make savory curry as well as non-curry dishes like kebabs in Indian cuisine. Chena, on the other hand, is used for making sweets.
Both paneer and chena are made by curdling milk, but the difference lies in the technique. First, while making paneer, the curdling agent (lemon or vinegar) is added to boiling milk. Second, the cheese obtained after the milk solids and whey have separated, is allowed to remain in the hot liquid for some time, thus hardening slightly in the process. It is set into a semi-hard block later on to be cut into pieces.
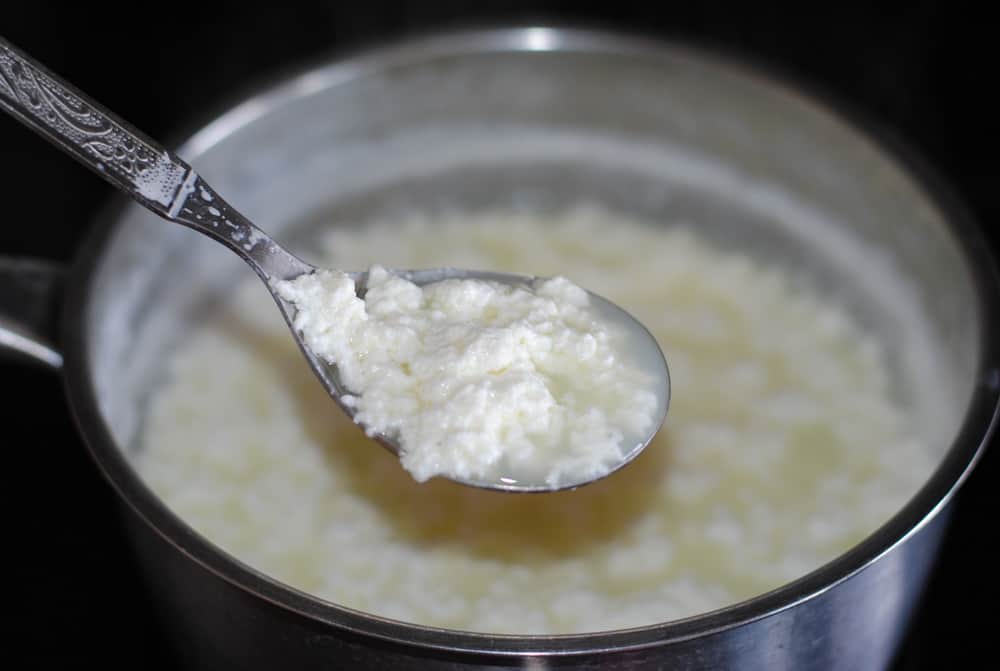
Chena, meanwhile, is a softer version of the same cheese. While making chena, the curdling agent is added to moderately hot milk, not super-hot boiling milk unlike paneer. Second, the cheese is removed at once from the hot liquid so that it doesn't harden even slightly. It is then kneaded gently to yield a smooth, paste-like and very soft cheese called chena.
This is a crucial difference to understand because if you don't get the technique right while curdling the milk, you will get paneer instead of chena and end up with hard and sweet paneer balls instead of soft and spongy rasgullas! This happened to me in my earlier trials of making rasgullas and I learnt, after much grief, to make chena the right way!
Ingredients
- Toned cow's milk (3% fat) - one litre or 4.5 cups
- White vinegar - one tablespoon mixed with two tablespoons water. In place of the vinegar you can use fresh lemon juice as well. You can use two tablespoons vinegar or lemon if the milk doesn't curdle with one tablespoon. When doubling the vinegar or lemon, double the water too. Avoid adding undiluted vinegar or lemon directly to the milk.
- White sugar - two cups
- White flour (maida) - half a teaspoon
- Cornflour or cornstarch - one teaspoon
How to make rasgullas
Make the chena
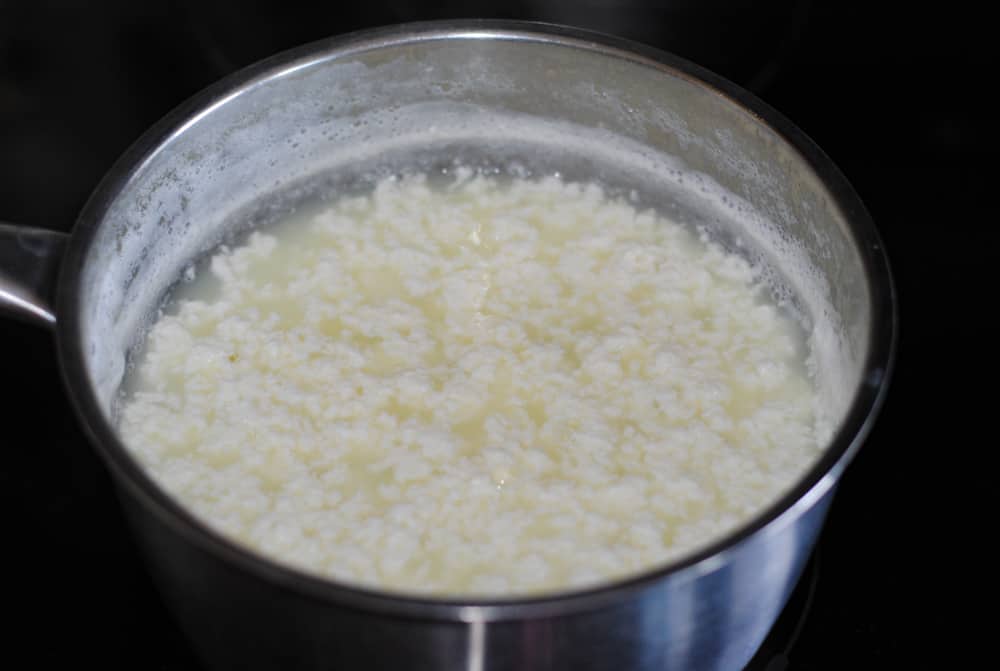
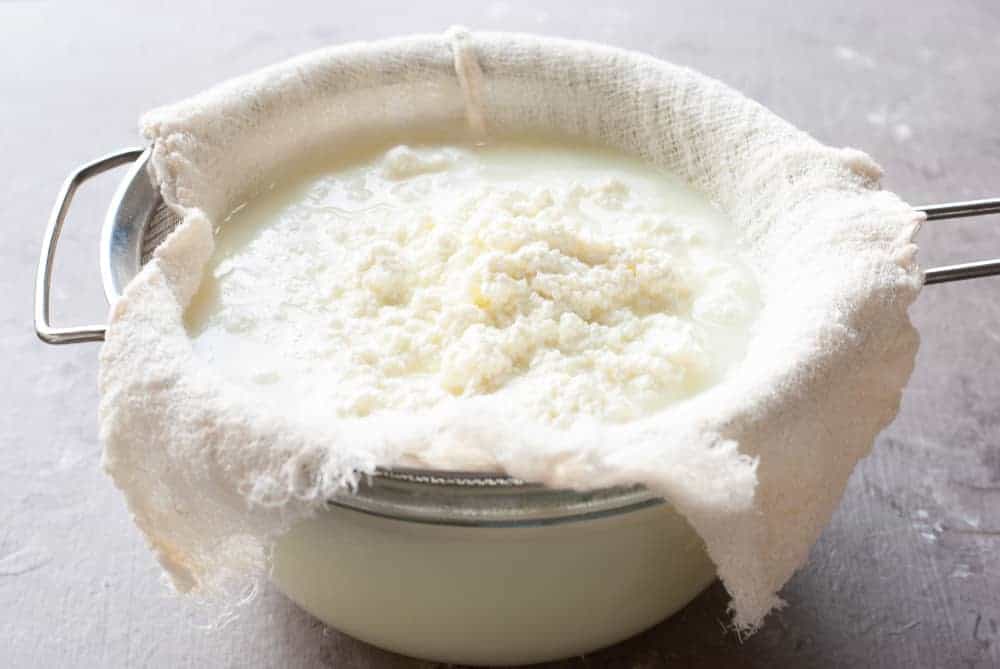
1. Set the milk to boil in an open saucepan on your stovetop. When it starts boiling, take it off the heat and stir with a spoon for one or two minutes to bring down the temperature a bit. Then add the lemon juice or white vinegar plus water solution (the curdling agent) to the milk, one teaspoon at a time. Keep stirring the milk while you're doing this and you will see that gradually the milk solids will separate and leave behind a greenish whey. These milk solids (chena) is what you want for making the rasgollas.
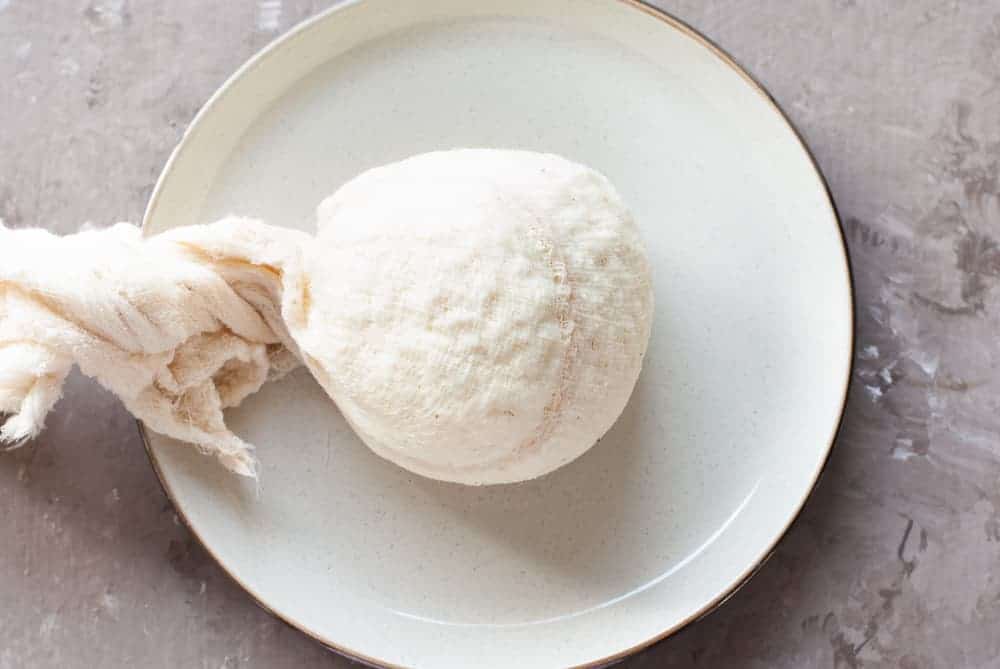
2. Line a colander with cheesecloth and place it over a deep bowl. Pour the contents of the saucepan into the colander. The liquid will collect in the bowl and the cheese or chena will be left behind. Wash the chena that's left in the cheesecloth with cold water to get rid of the smell of the lemon or vinegar and to further bring the temperature down. You can place the colander under a steady trickle of tap water to do this. Gather up the cheesecloth from all the four corners and squeeze to get rid of the excess moisture. If there is moisture in it, the rasgullas will not retain their round shape later on.
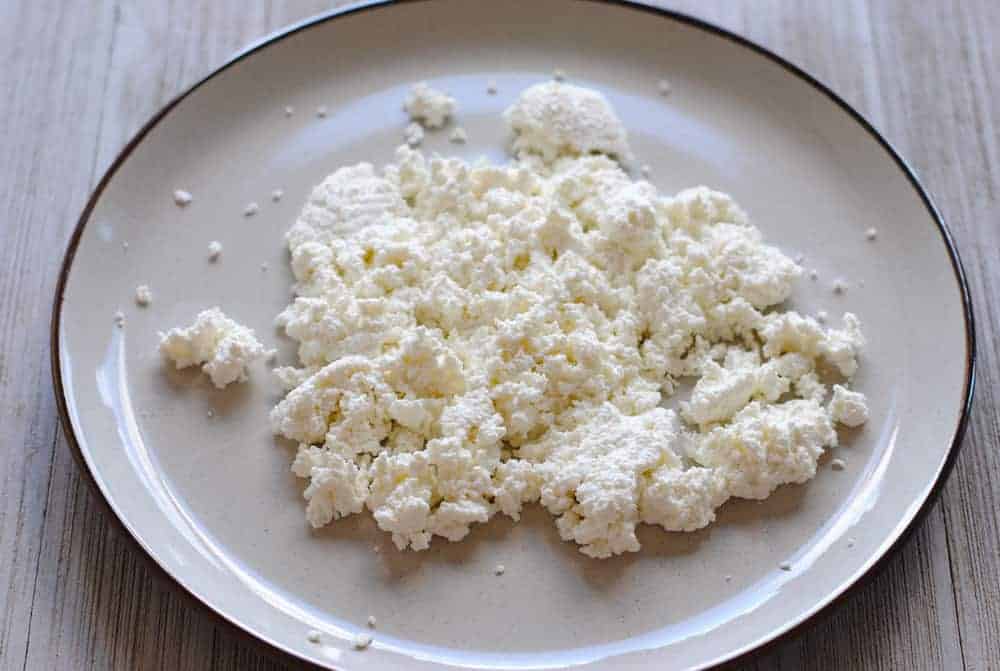
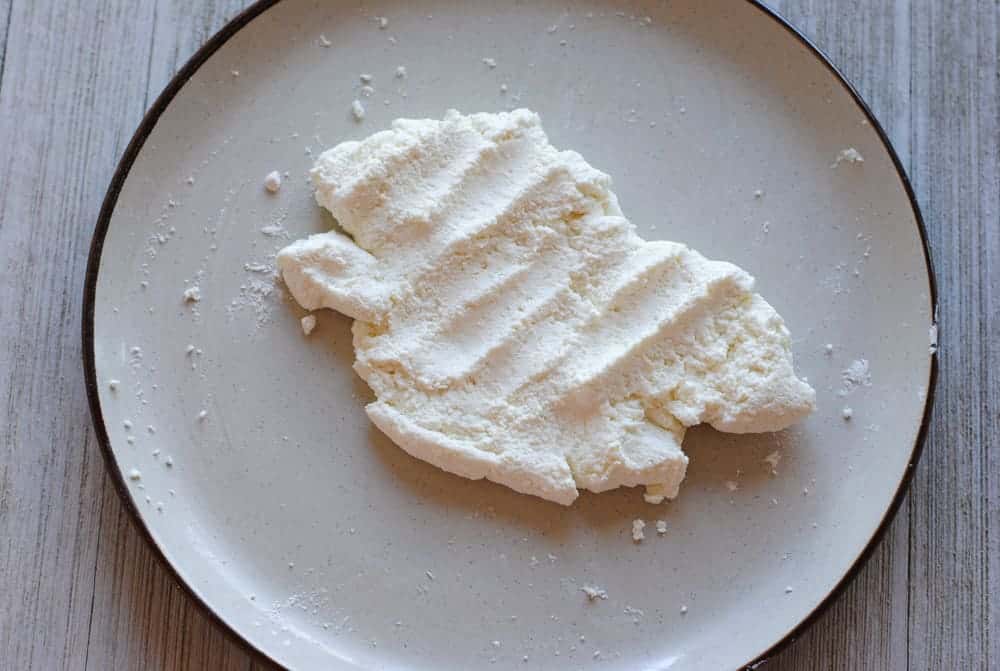
3. Turn the chena on to a flat and wide platter (a clean wooden cutting board can be used). It is going to be soft and crumbly at this stage. Add the cornflour and white flour and start rubbing it back and forth with the palms of your hand. After 3-4 minutes, the chena will lose its crumbly texture and become pasty and smooth.
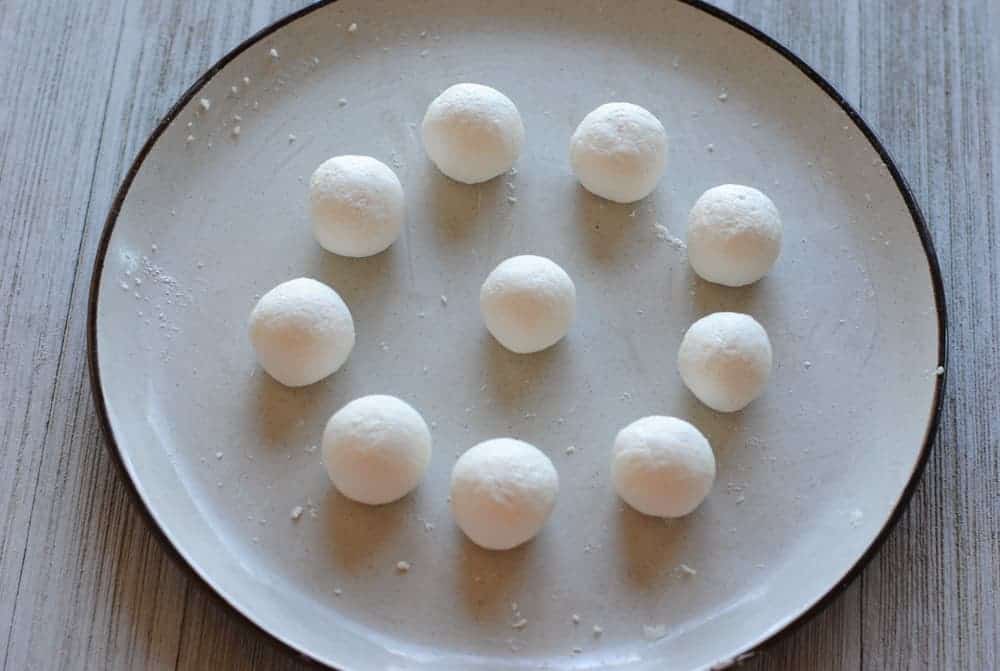
4. Break off a small portion and shape into a ball. Repeat until you have used up all the chena. Keep the balls covered with a damp cloth while you prepare the sugar syrup.
Make the sugar syrup and add the chena balls
Put the sugar in a large pot along with 5-6 cups of water on the stovetop and bring to a boil. The syrup needs to be thin and very hot when you drop the chena balls in, so don't make it ahead of time. As soon as the syrup starts boiling, drop in the prepared chena balls and cover the pot with a tight-fitting lid.
Tip: It is important to not lower the heat at this point or remove the lid. Doing so will make the rasgullas hard later on.
Let the balls cook undisturbed for 10 minutes. After 10 minutes, you can remove the lid but let them cook in the syrup for an additional 5 minutes. When you take off the lid, you will see that the balls have doubled in size.
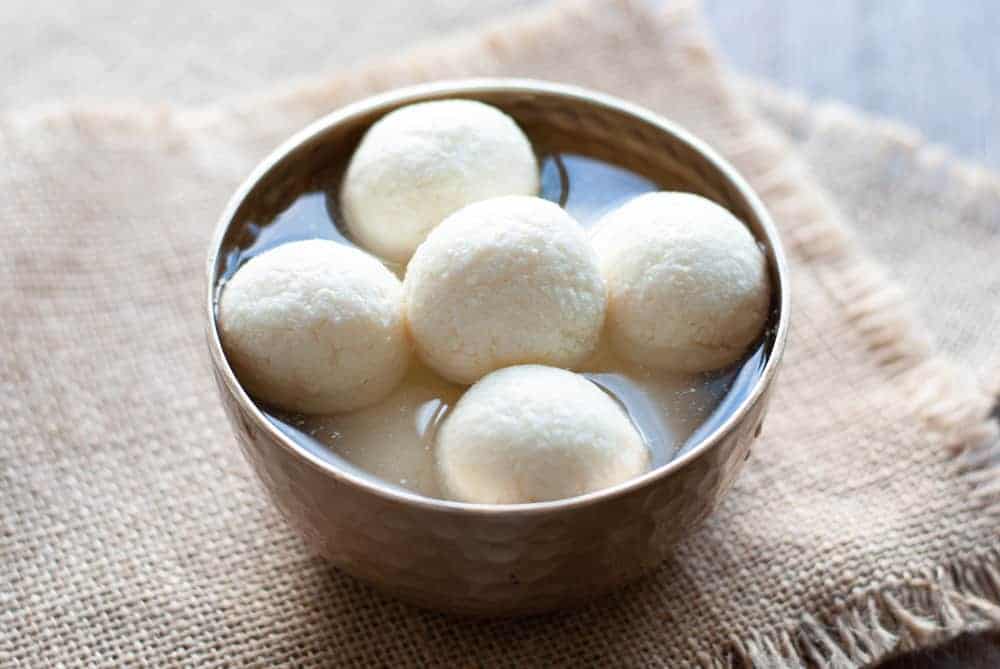
Now, let the rasgullas cool down in the syrup. They will shrink a bit at this stage but not too much. When cooled completely, take them out in a bowl along with the syrup and keep in the refrigerator for at least 4-5 hours, more if you can wait. The rasgullas will have absorbed the sugar syrup in all this time.
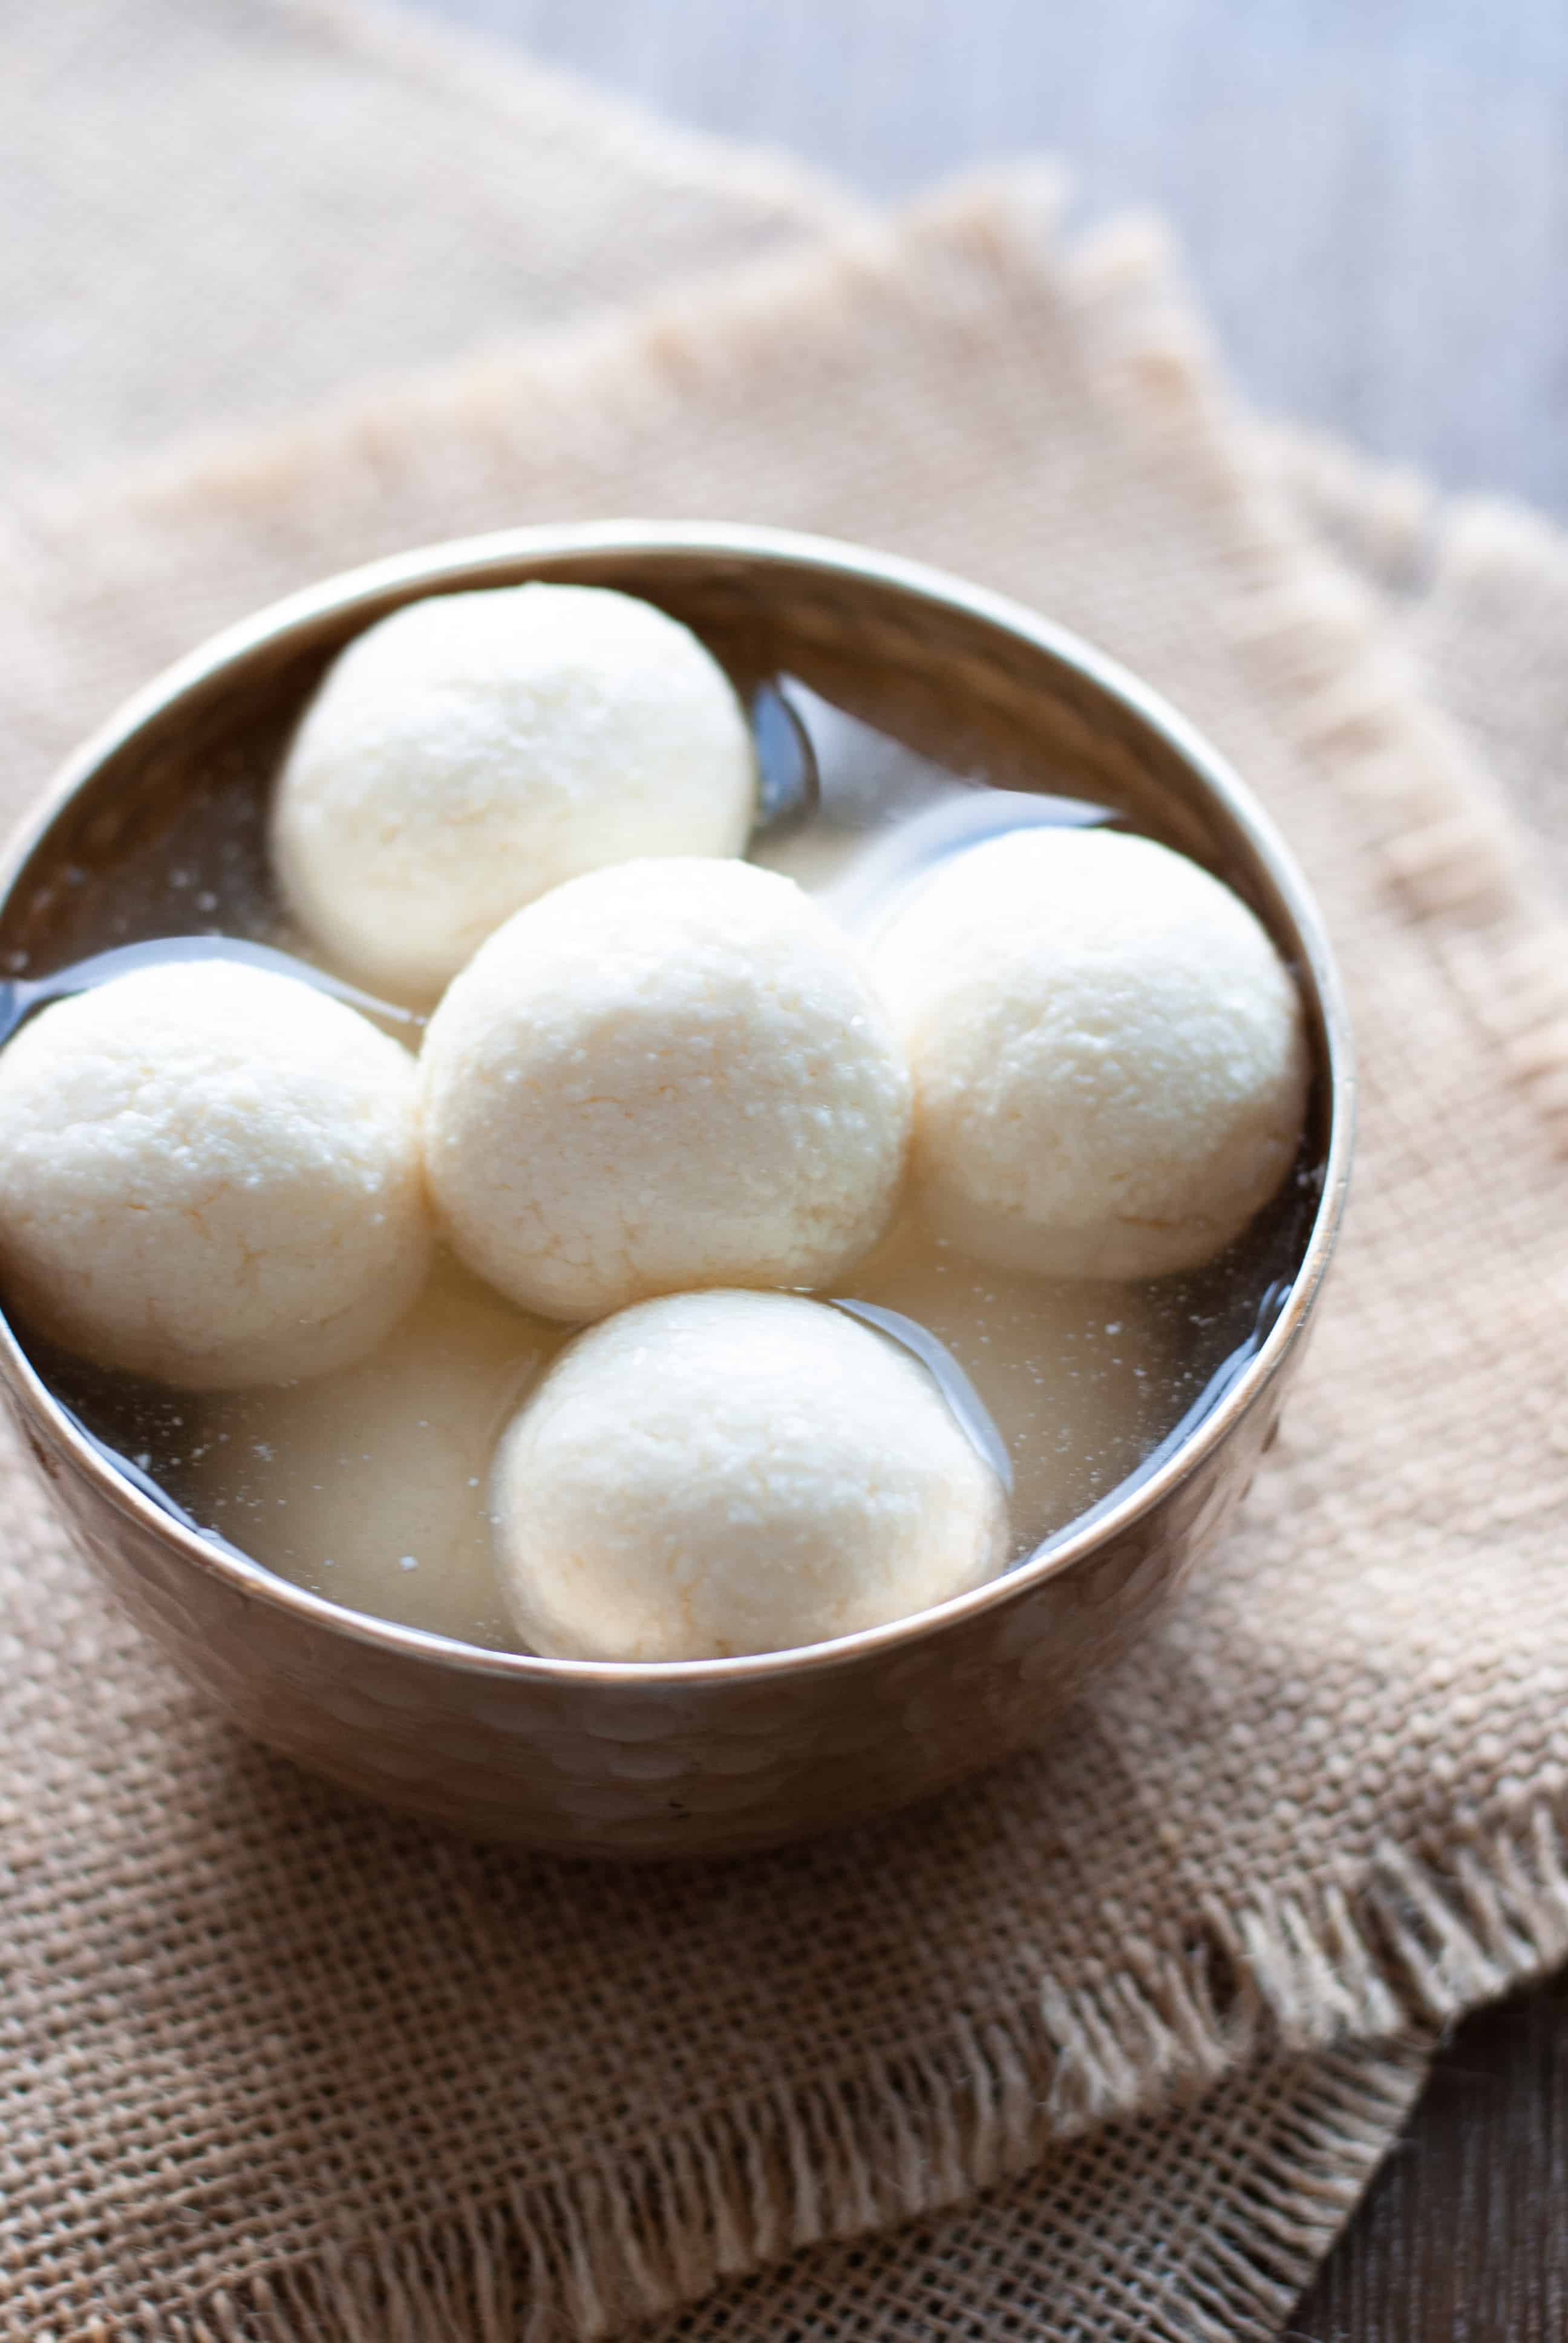
When ready to eat, take the bowl out of the fridge and pick one rasgulla from the syrup and press it to test the sponge. When you drop it back in the syrup, it will go back to its round shape! These are the kind of rasgullas you want: sweet, light and full of sponge.
Some important tips to make light and spongy rasgullas
I did mention a few things before, but these tips are so essential to making the perfect rasgollas that I have to say them again:
- While making the chena, add the curdling agent (lemon or vinegar) to hot milk, not super-hot or boiling milk. This is crucial because if you go wrong here, the rasgollas will not be spongy no matter what you do afterwards. If the milk is too hot, the chena will harden and you don't want hard chena for making rasgollas.
- For the same reason as above, once the milk curdles completely, cool the chena by washing it in cold water. This will prevent it from turning hard in the residual heat and also remove the smell of the lemon or vinegar. This is also the reason why, unlike paneer, you cannot make chena for rasgollas in your instant pot. You just can't control the heat. I tried it in my initial attempts (thought I was being very smart) but ended up with hard paneer balls!
- While squeezing the excess water out of the chena, make sure all the moisture is out otherwise the rasgollas won't retain their shape despite the cornflour and maida that you add later. Of course, you don't need to go to the other extreme and squeeze out the last micro droplet. The chena should be reasonably moisture free to make good rasgollas.
- While rubbing the chena to smoothen it, try and use the palms of your hands in a back and forth motion. The chena should be like a smooth soft well-kneaded ball of dough when you're done. It doesn't take much time but it is an essential step if you want smooth rasgullas.
- The sugar syrup that you prepare for dipping the rasgollas needs to be thin and watery for the rasgollas to absorb the sweetness. So, don't prepare it in advance or cook it for too long since it can thicken in either case. Of course you can add more water if that happens but you will need to boil it again as it also needs to be boiling hot when you add the balls. For this reason, prepare the cheese balls first, then set the water and sugar to boil.
- Do cover the pot with a tight-fitting lid when the rasgollas are cooking for the first ten minutes. This ensures that the cheese balls will puff up to double their size which is what you want: plump and fat rasgollas.
And there you are! If you follow these simple tips, your rasgollas will be like the ones you get from your favorite restaurant or sweet shop: sweet, light and spongy. The way they should be.
More Indian desserts you might like
Shahi Tukda - An indescribably sweet and rich dessert made with bread fried in ghee and soaked in sugar syrup and milk. Saffron, nuts, and rose petals add a royal touch!
Kesar Pista Kulfi - This saffron and pistachio kulfi is the creamiest, dreamiest Indian ice cream you can make at home. Perfect for hot summer days!
Bhapa Doi - A fabulous chilled dessert resembling cheesecake. Made with Greek yogurt and a strawberry topping, it is super creamy and healthier than regular cheesecake.
Kheer - Rice pudding made with whole milk, rice, sugar, nuts and saffron. Irresistibly creamy and sweet!
📖 Recipe
Bengali Rasgulla
Equipment
- A small saucepan
- Colander
- Cheesecloth
- A large pot or saucepan with a lid
Ingredients
- 4 ½ cups toned cow milk
- 1 tablespoon white vinegar mixed with 2 tablespoon water
- 1 teaspoon cornflour
- ½ teaspoon white flour or maida
- 2 cups white sugar
Instructions
- Pour the milk in a saucepan and set it on medium heat on the stovetop to boil. Stir it with a spoon a few times so that a film doesn't form on top. When the milk starts boiling, take it off the heat and stir it a few times again to bring down the temperature. While the milk is boiling, line a colander with a cheesecloth that covers it completely and place the colander over a deep bowl. This contraption will be used in the third step.
- After a minute or two of stirring the milk, add the vinegar and water solution bit by bit, stirring all the time. The milk will gradually curdle and you will be able to see the solids separating from the liquid. Immediately drain the contents of the saucepan into a cheesecloth lined colander you prepared earlier. It is the solids or cheese (chena) that you want. You can discard the liquid collected in the bowl.
- Hold the colander under a stream of cold water and let the liquid drain through. Washing the chena in this way gets rid of the smell of vinegar and prevents the chena from hardening.
- Switch off the tap and gather up the sides of the cheesecloth into a ball. With your other hand, press on the outside of this ball to squeeze out all the excess liquid, as much as you reasonably can.
- Turn the chena on to a wide platter or board and add the cornflour and white flour to it. Start rubbing it in a to-and-fro motion with the palms of your hand. The chena will come together into a soft dough in a few minutes.Break off small, coin-sized portions of the chena and shape into round balls. Cover the balls with a damp cloth.
- Now make the sugar syrup. Put the sugar and 5-6 cups of water to boil in a large saucepan. Let it come to a boil, and as soon as it does, drop the chena balls in the boiling liquid immediately. Cover with a tight fitting lid without any delay and let the balls cook undisturbed on high heat for 10 minutes. After 10 minutes, remove the lid and let them cook for a further 5 minutes. Turn off the heat. The balls will shrink a little but not too much. When cool, transfer the balls along with syrup to a dish and refrigerate. Serve cold after 4-5 hours.
Notes
- Instead of vinegar, you can use lemon juice to curdle the milk.
- After the milk solids have separated from the milk in the second step, you can add a few ice cubes to bring down the temperature immediately.
- For perfect rasgullas, the chena should be super-soft and the sugar syrup thin and watery. Don't overcook either. Just follow the steps in the recipe carefully.
- I have not included the refrigeration time below.
Nutrition
Did you make this rasgulla recipe? Don't forget to give it a star rating below!

Thanks for coming! Let me know what you think: