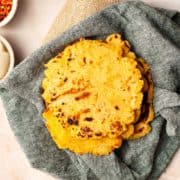
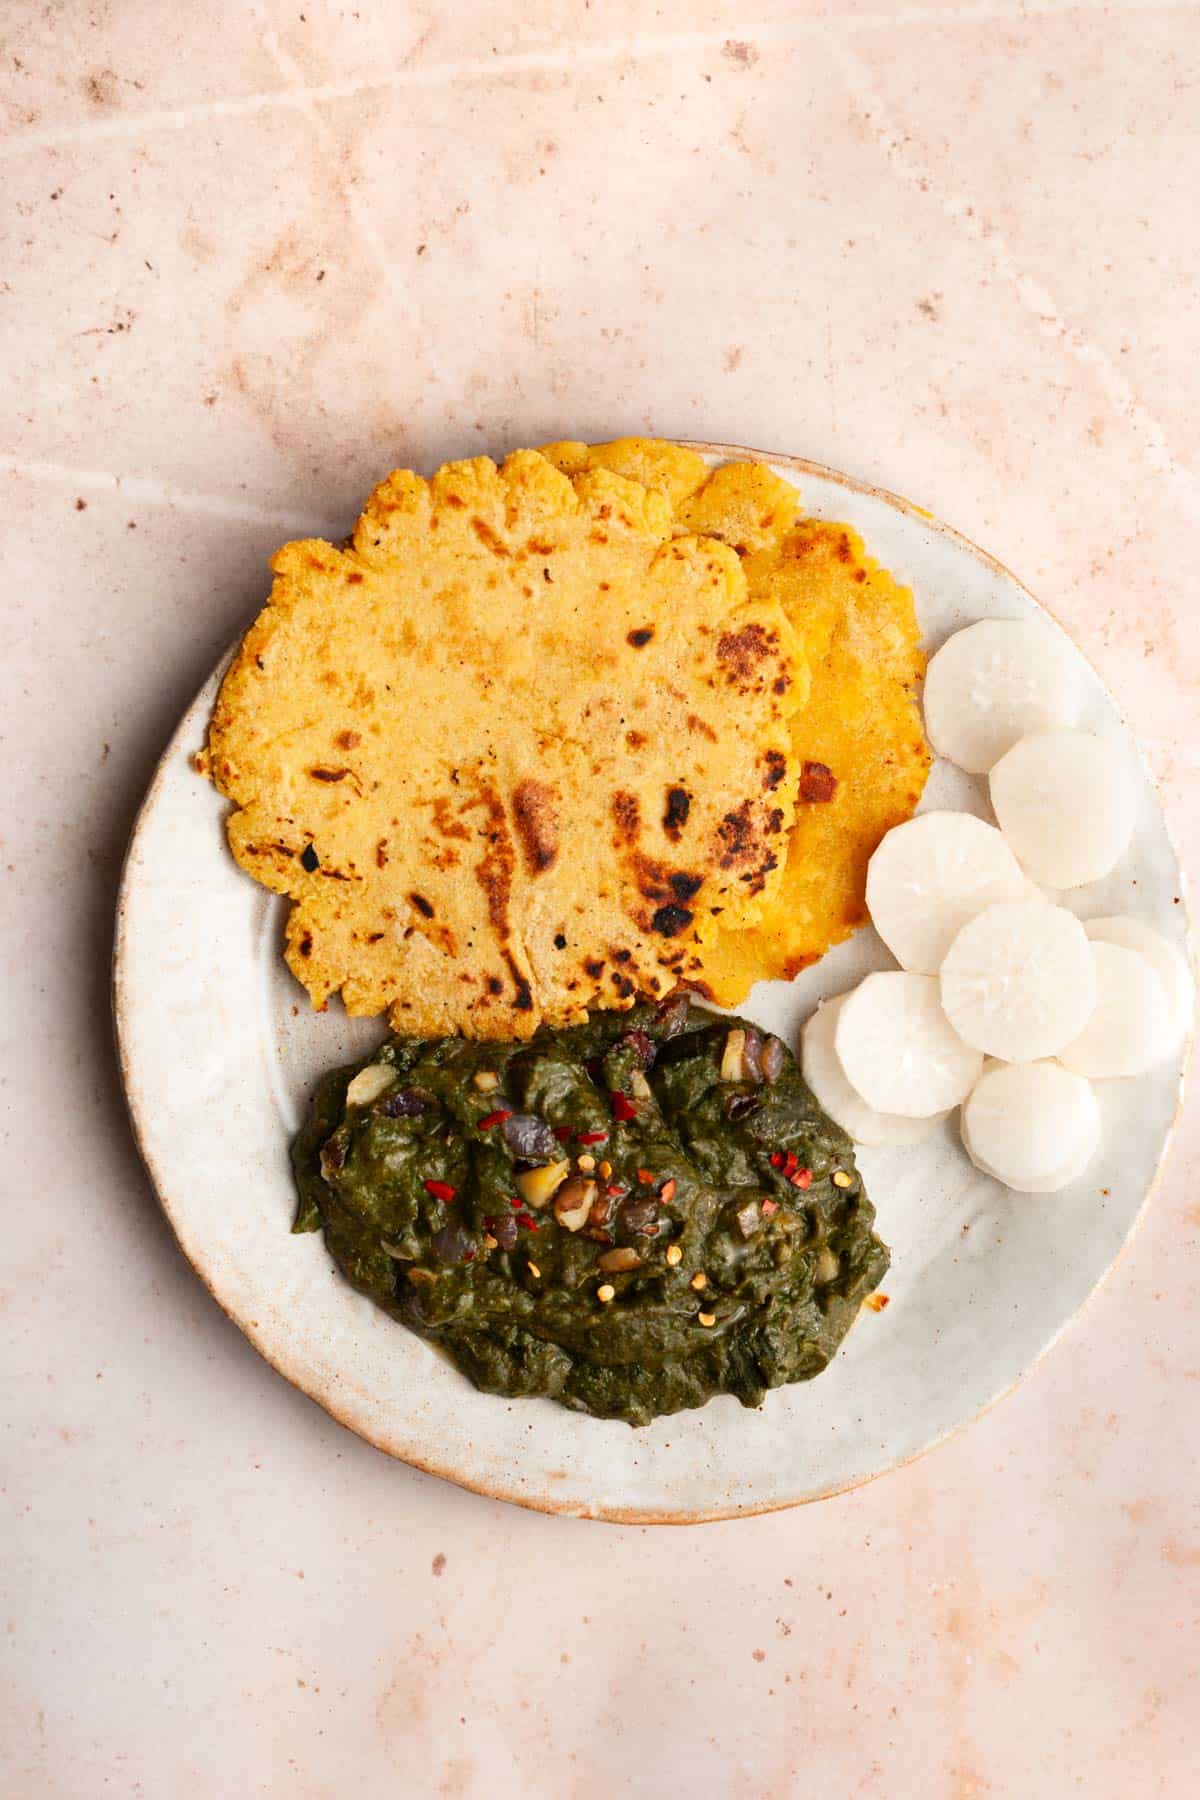
Makki ki roti or makai ki roti is an easy flatbread made of corn or maize flour. This rustic bread is traditionally served with sarson ka saag (spiced and pureed mustard greens), and together, they make for a hearty Punjabi meal that people in the subcontinent relish eating in winter.
The cold has settled in, here in Edmonton, Alberta, and I am making makki ki roti and sarson ka saag the third time already for dinner! The heady smell of the cooking greens, the toasty bread, and oodles of ghee fills the house, and I'm always slightly surprised that my boys who hate anything 'green' and 'healthy' chomp their way through the stacks of roti and saag and lick their plates clean for good measure. And however many rotis I make, there are never any leftovers. They disappear as if magicked away!
Jump to:
🥘 Ingredients
Note: exact amounts are mentioned in the recipe card further down.
- Maize or corn flour - This is the flour made by grinding the whole corn kernel and all the nutrients such as protein, fibre, starch, minerals and vitamins are intact in it. It is bright yellow in color. This is different from the white, powdery cornstarch used to thicken liquids and gravies, also sometimes referred to as cornflour. You want the yellow flour (makki ka atta) for this recipe, not the white powder.
- Wheat flour - This is used in a much lesser amount than the maize flour, and it is added primarily because of the gluten in it that binds the dough together. Corn is naturally gluten-free so it becomes difficult to roll the dough. When a little wheat flour is mixed with the maize, rolling out the roti becomes easier. However, if you are on a gluten free diet, and don't want to avoid wheat, it is possible to make the roti entirely out of maize flour. See 'Variation' below.
- Sea salt
- Hot water
🔪 Instructions
Time needed: 40 minutes
How to make makki ki roti
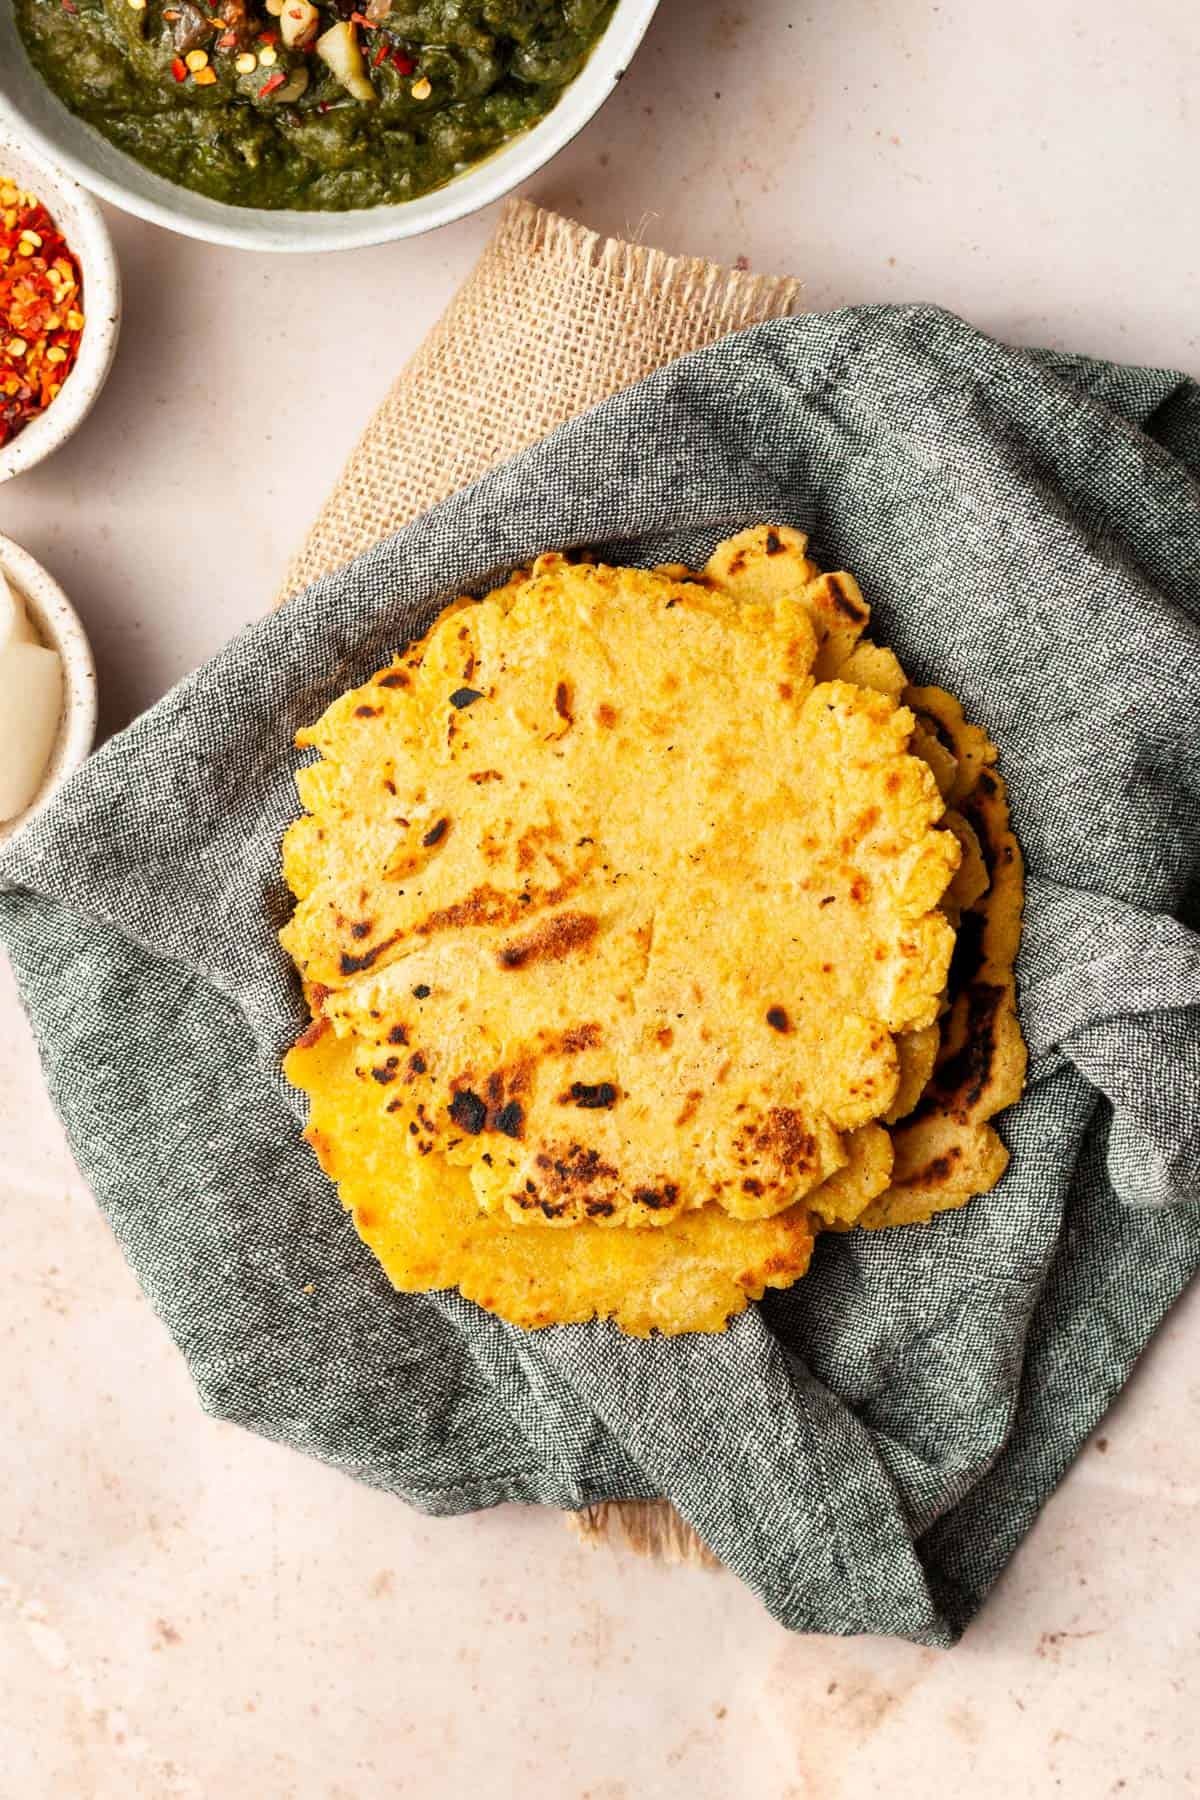
1. Sift the flours and salt in a bowl - Take both the flours and salt and sift them together in a large bowl.
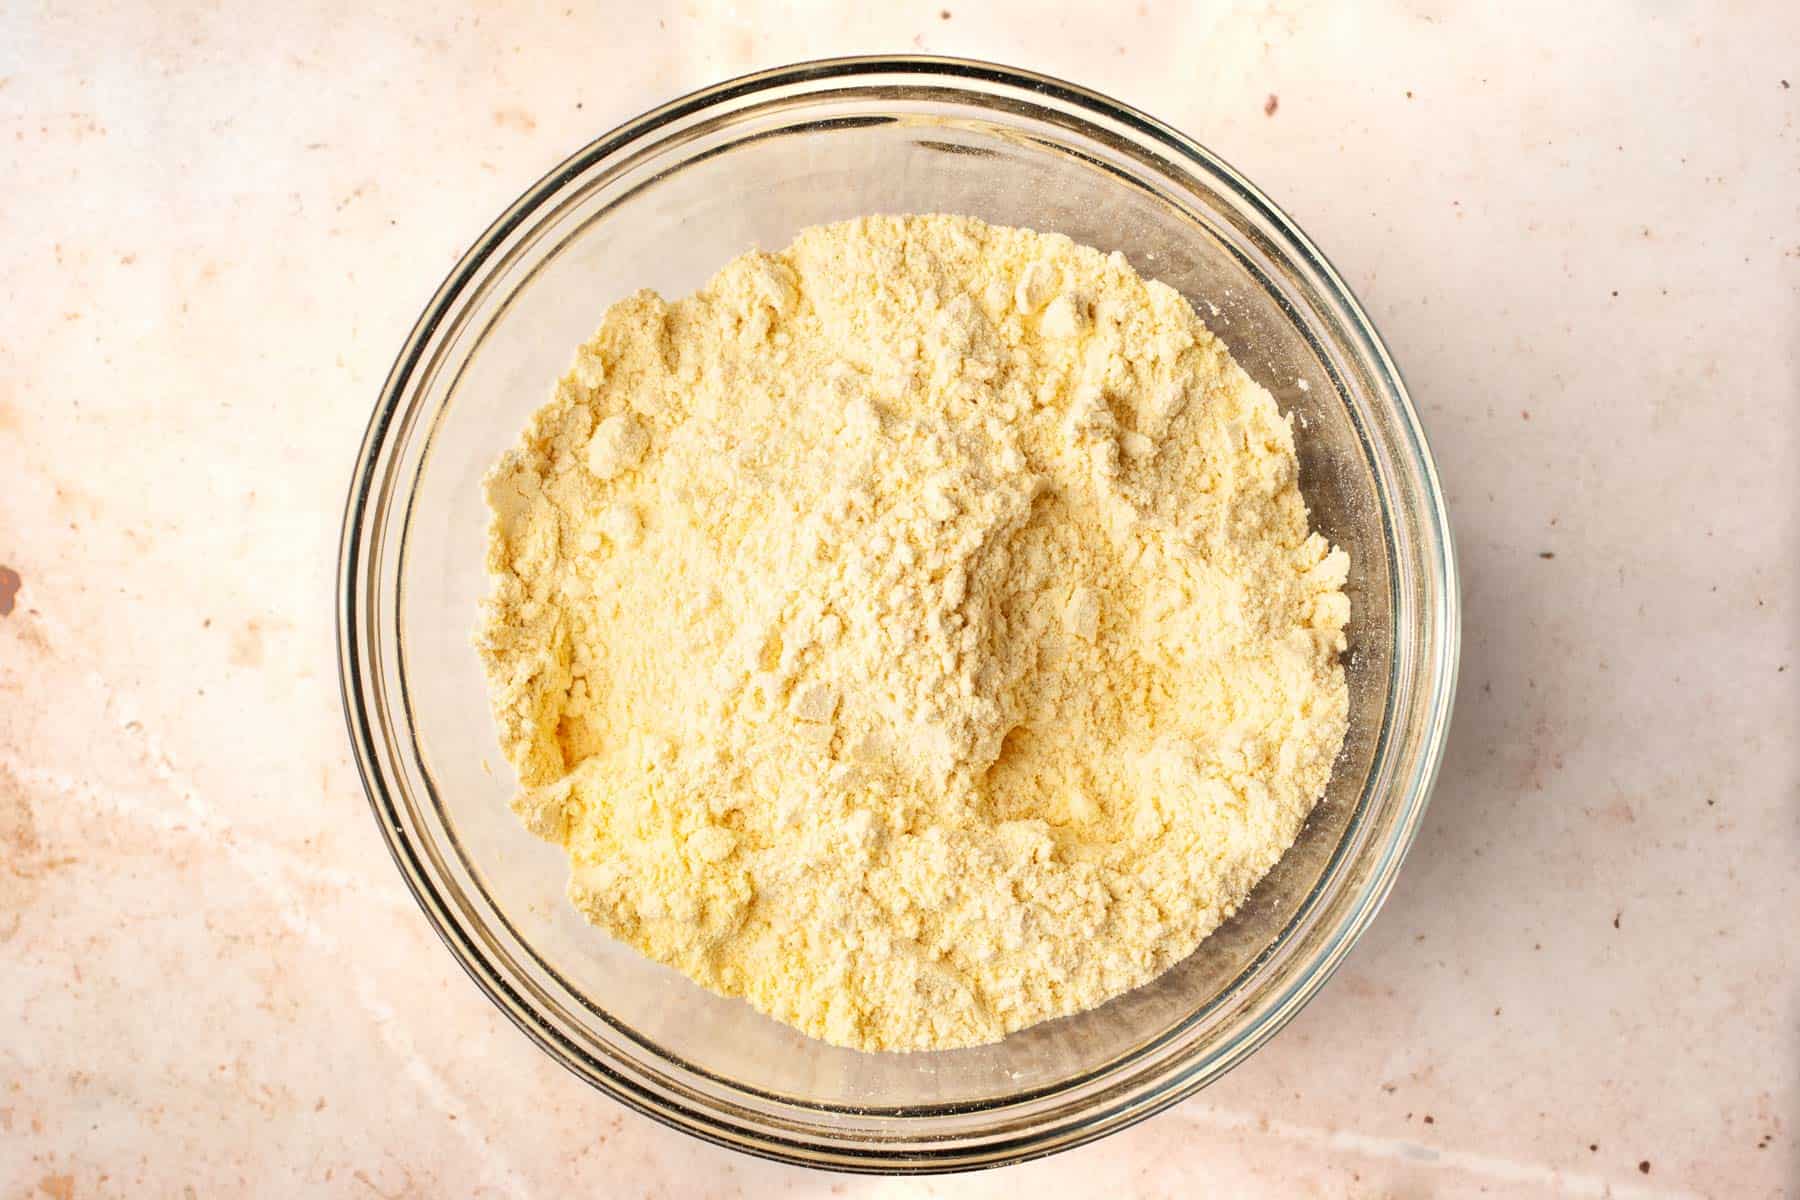
2. Add two cups of the hot water gradually and mix it in - You can use a fork initially to mix the flour since the water is hot. The flour will absorb most of the water and look like coarse breadcrumbs.
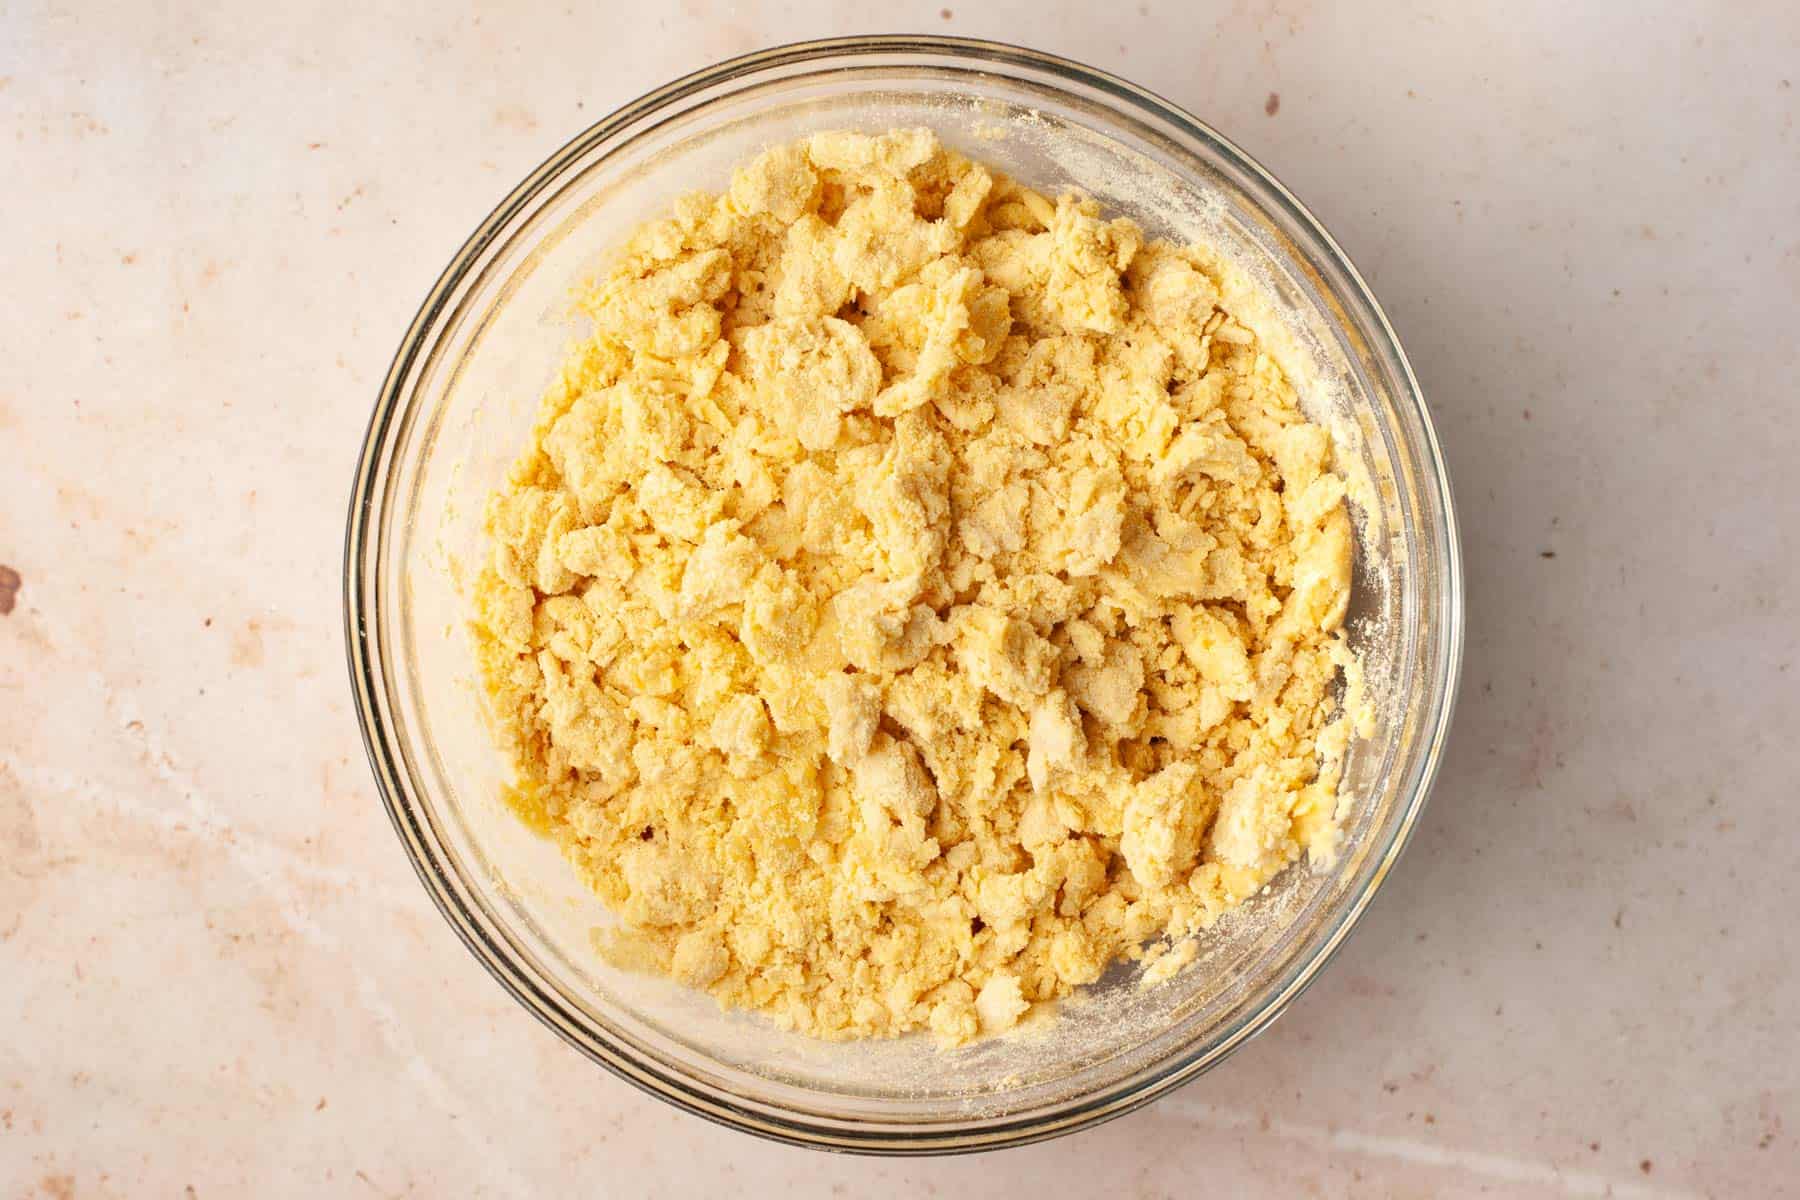
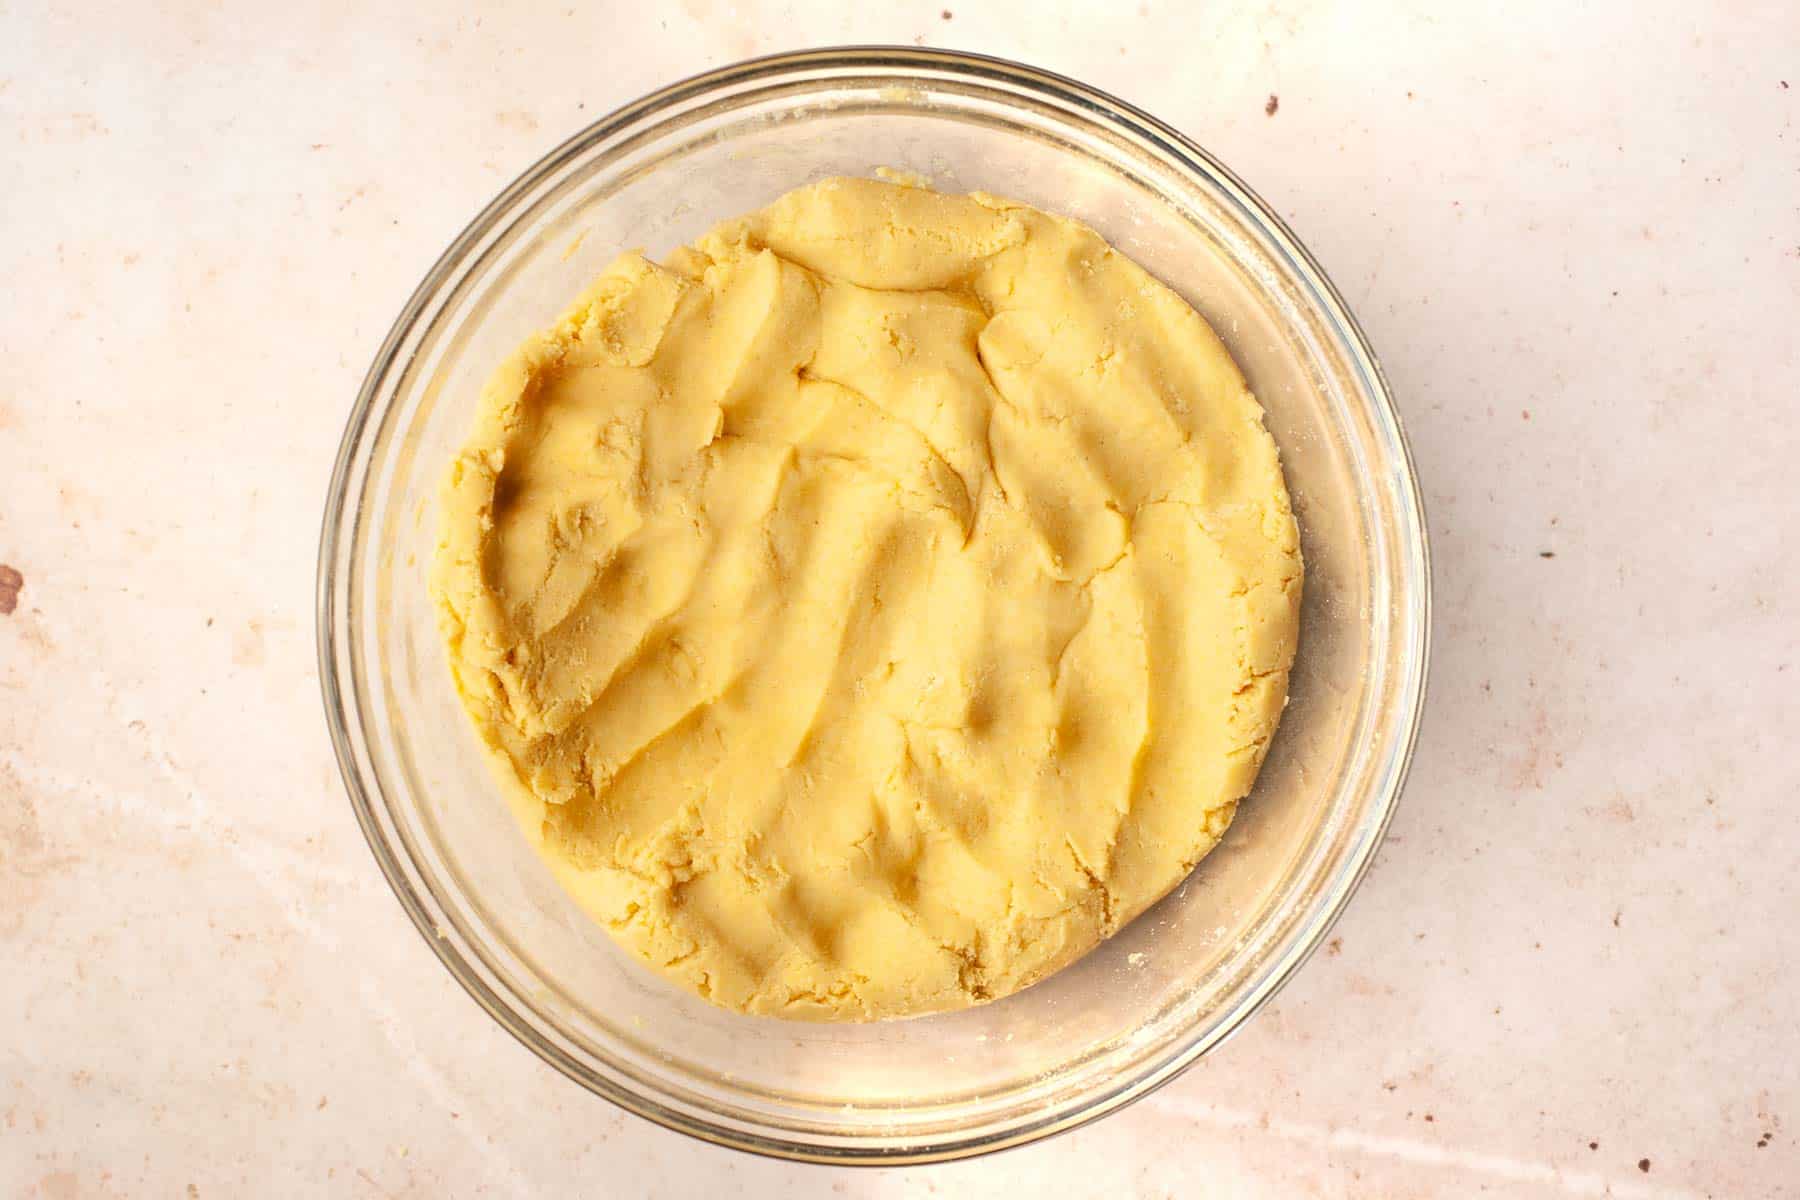
3. Knead the dough with your hands - Using the heel of your hand, knead the dough firmly, adding the remaining water as required. Do this until the flour comes together like so.
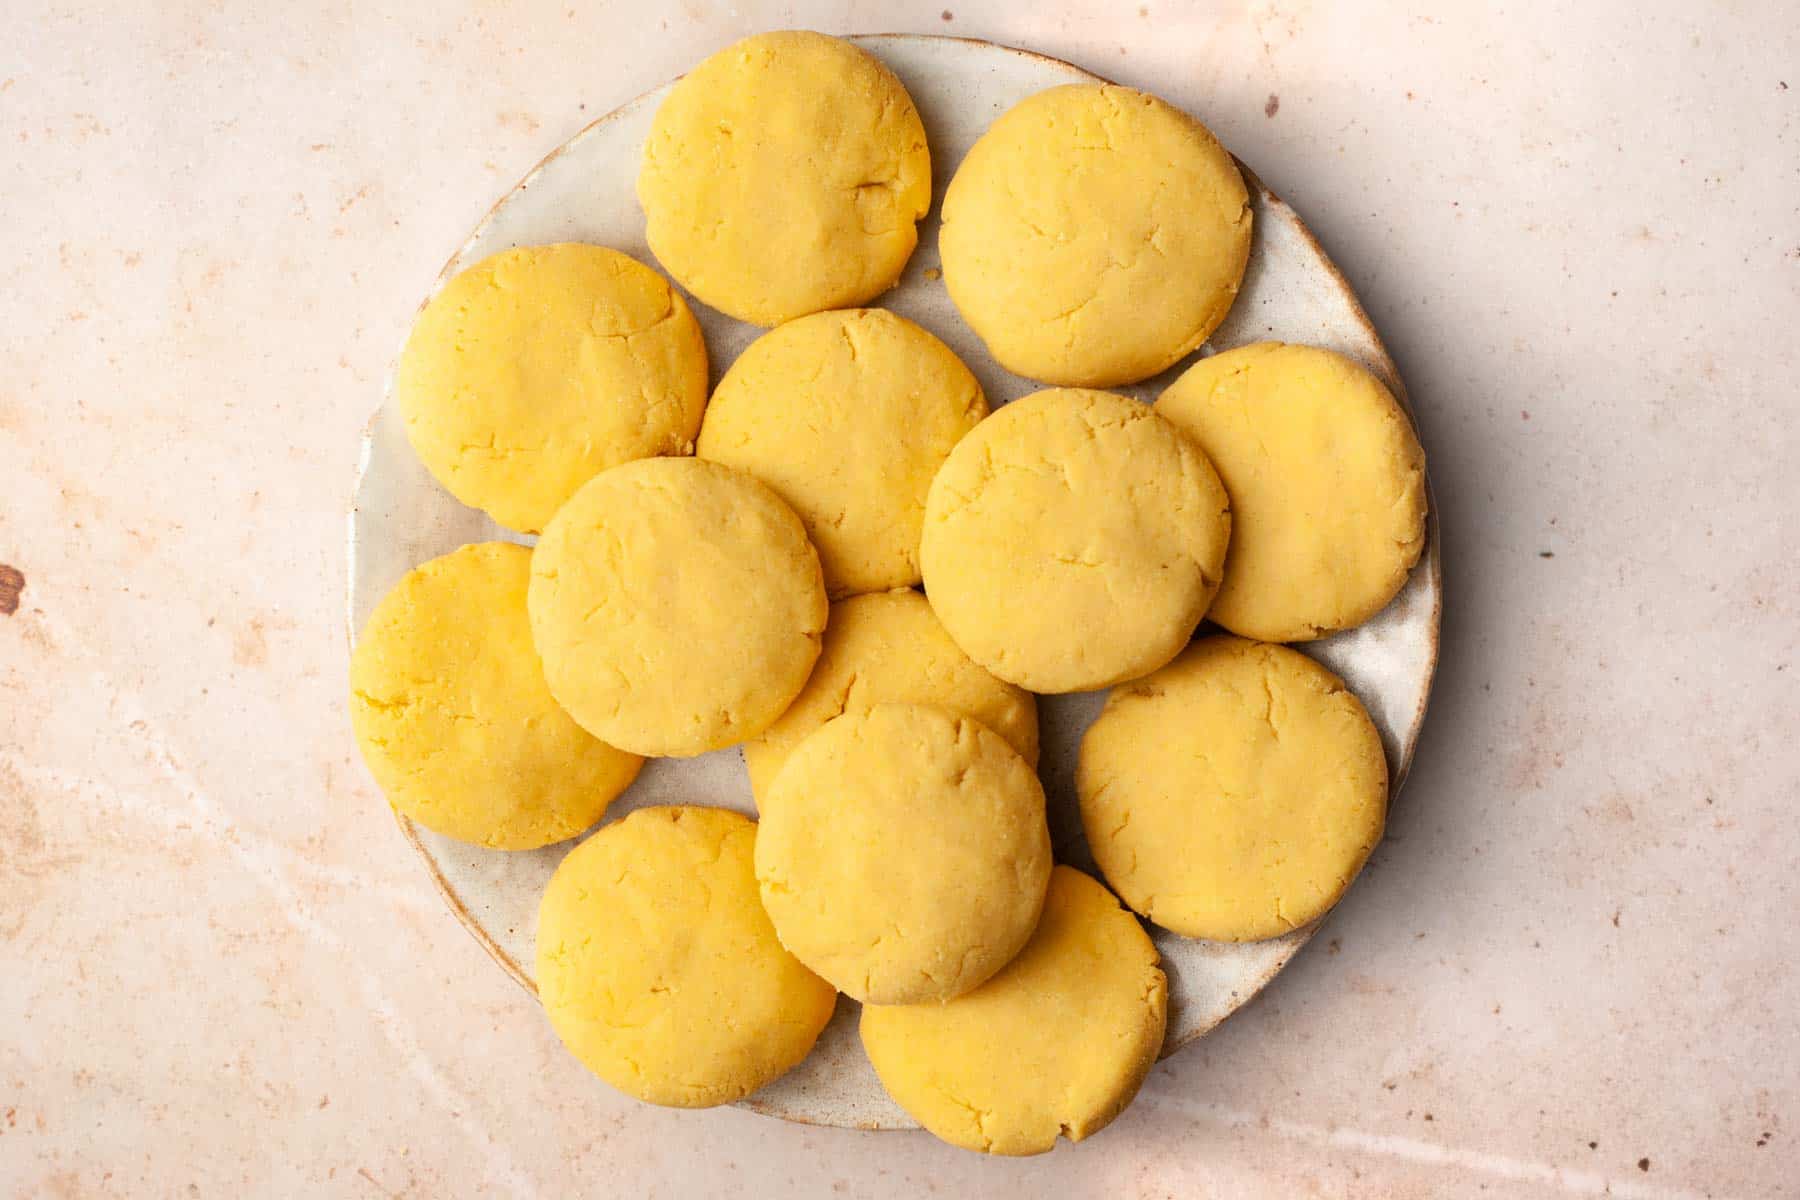
4. Shape the dough into discs - Break off generous sized portions of the dough and shape each portion into a disc. Cover the discs with a moist towel so they don't dry out.
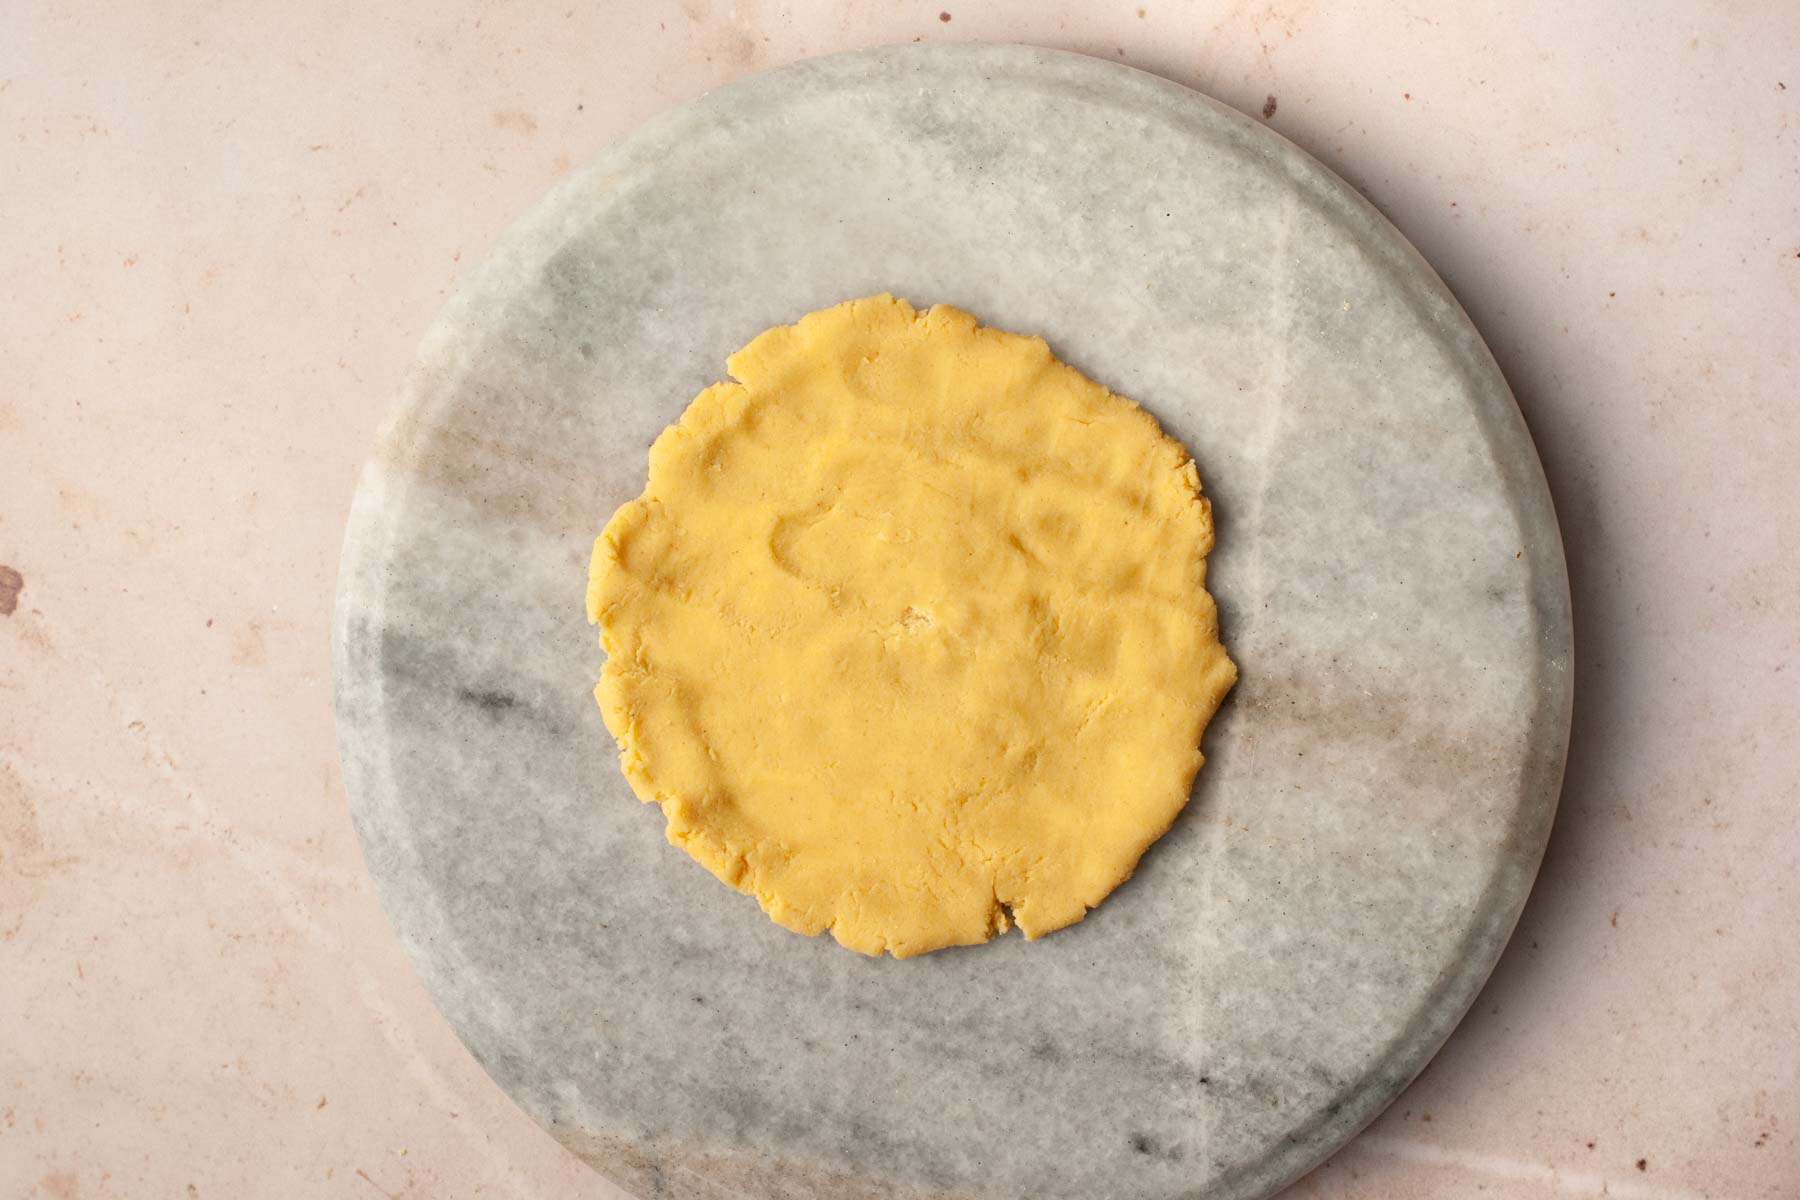
5. Roll out each disc into a small flat roti - You can use a rolling pin or your hands to flatten the discs into small rotis like so.
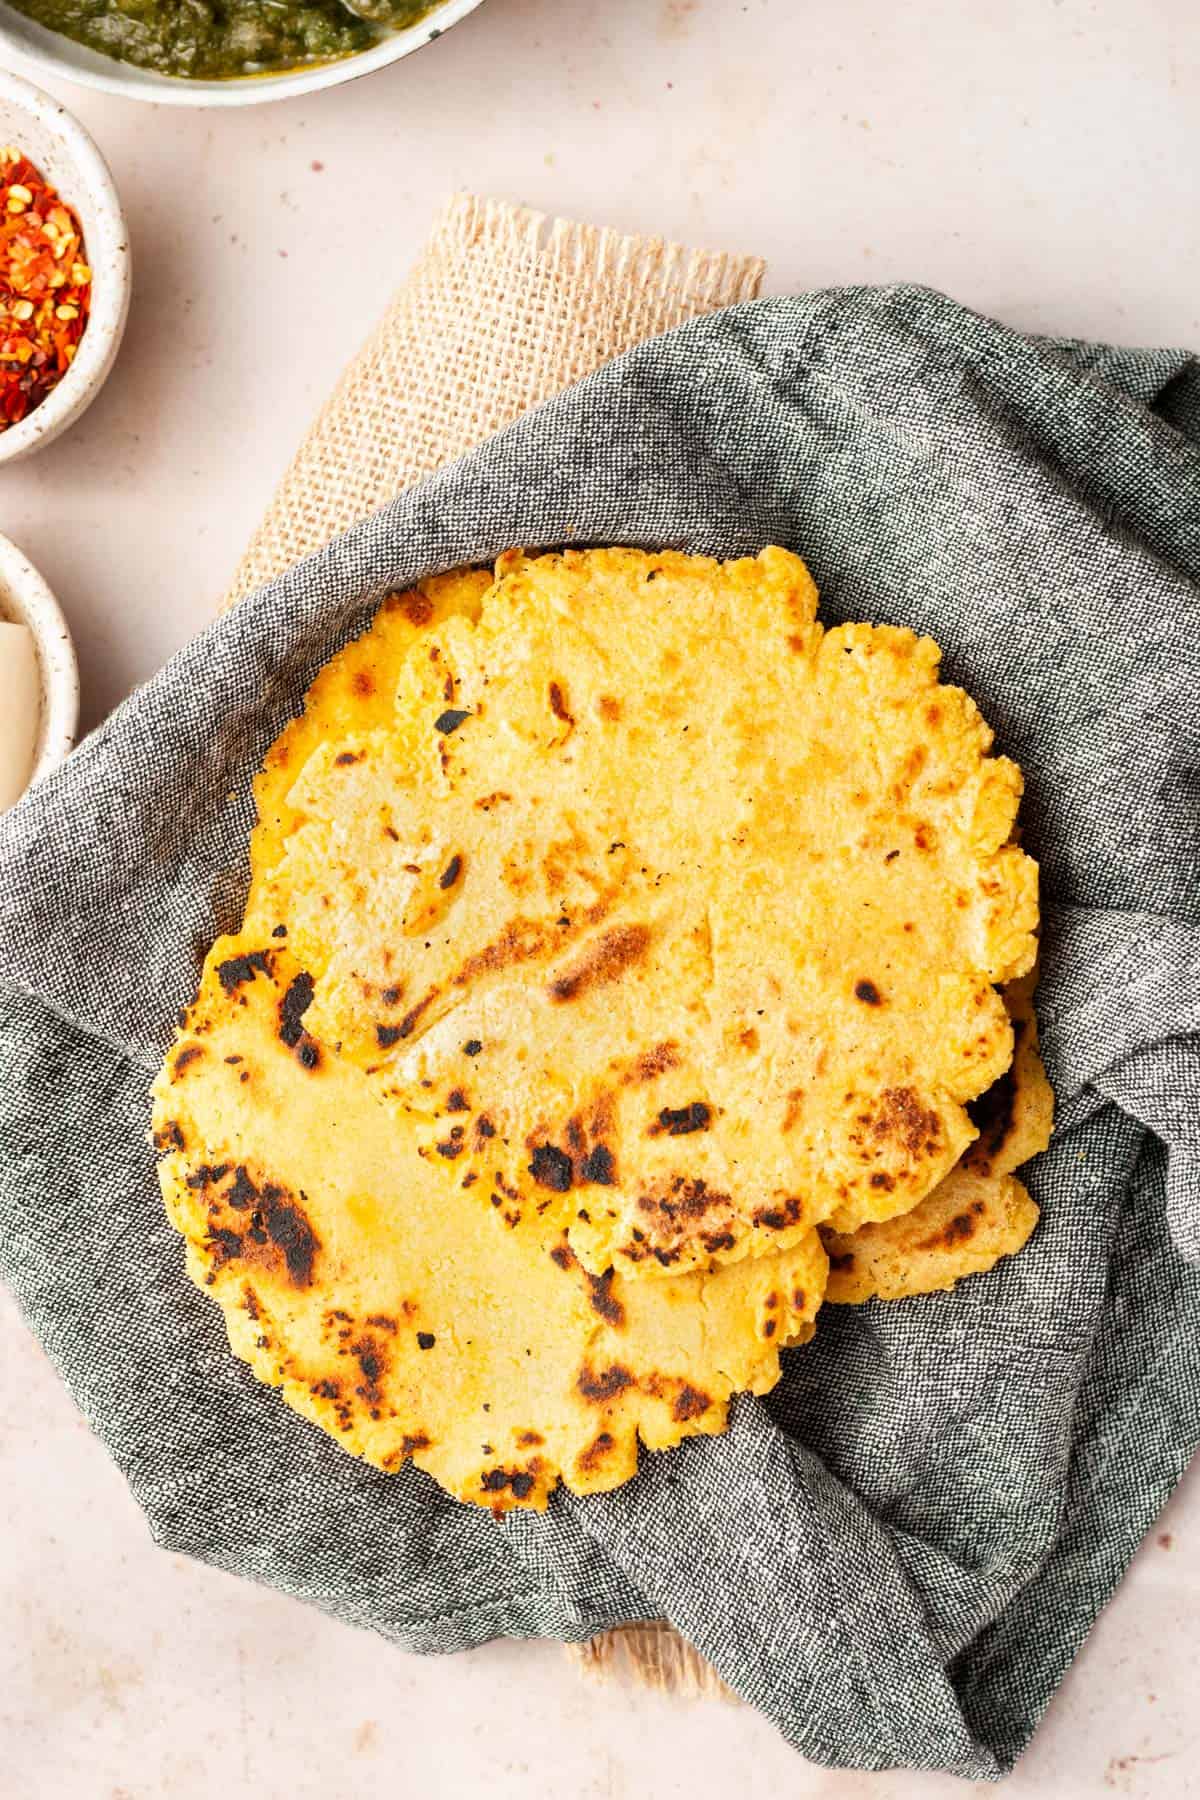
6. Cook the roti
- Heat a tawa (iron griddle) or heavy frying pan and place the roti on the hot surface.
- Drizzle a little ghee along the sides if you find that the roti is sticking to the tawa. Press down with a flat spatula from all sides. Wait for 10-15 seconds, then flip. You should see the edges charring slightly and the surface of the roti getting brown spots.
- Take it off and repeat with the remaining uncooked rotis.
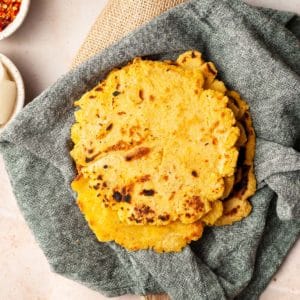
- You can serve the rotis as is with the saag or brush them with some more ghee or butter if you wish.
💭 Top tips
- Use hot water (not boiling) to knead the dough. It makes the dough soft and pliable. The amount of the water used is approximate; you might need a little more or less.
- For extra softness, allow the dough rest for 10 minutes after kneading it, then knead it again just for a minute before making the dough balls or discs.
- Make sure the tawa is quite hot before slapping the roti on it and allow some extra seconds for the roti to cook. These rotis are thicker than your regular wheat rotis, so they need more time to cook properly.
- If you find it challenging to remove the rotis from the surface on which you rolled them, use a flat and broad spatula to lift them off.
📖 Variation: gluten free makki ki roti
It is totally possible to make this bread gluten free. Simply omit the wheat flour and knead the flour into a soft dough as you would normally do. However, since this dough now lacks gluten, it can be difficult to work with it.
I have noticed from all the times that I have made this roti that it is not so difficult to shape it into a circle. If you use your fingers moistened with a little water instead of a rolling pin, it is doable. The tricky part is getting that circle off the surface on which you rolled it and onto the tawa! That's when it comes apart! Here's how to get past this hurdle:
- Place a sheet of parchment or wax paper on the surface (countertop or marble slab) you are using to make the roti. Put a disc of dough on it and cover it with another sheet of parchment.
- Using your fingers only, press down gently and spread it outwards into the shape of a roti.
- Finally, remove the top sheet of parchment, lift the bottom sheet along with the roti on it and flip the roti onto a hot tawa. Now you can remove the second sheet from the top. Cook the roti as usual.
More bread recipes
- Whole wheat naan - The healthy version of naan made with whole wheat rather than all-purpose flour or maida. Tastes better than regular naan!
- Puri - A golden and slightly crispy bread that puffs up upon being fried and tastes amazing with chole (spiced chickpeas), potato curry, and even halwa!
- Bhatura - Another fried Indian bread typically served with chole.
- Keema naan - This one is filled with the ground meat of your choice and baked in an oven to emerge as a thick and fluffy stuffed naan!
- Bread bowls - These bowls are perfect for serving creamy soups. They're easier to make than you think!
📖 Recipe
Makki Ki Roti
Equipment
- Medium Pyrex bowl
- Tawa (iron griddle), or medium sized heavy frypan
Ingredients
- 2 cups maize flour
- 1 cup wheat flour
- 1 tsp sea salt
- 3 cups hot water approximately
- 2 tablespoon ghee as needed
Instructions
- Take both the flours (maize flour and wheat flour) and salt and sift them together in a large bowl.
- Add 2 cups hot water gradually, mixing it in a with a fork. The flour will absorb most of the water and look like coarse breadcrumbs.
- Using the heel of your hand, knead the dough firmly, adding the remaining water as required. Do this until the flour comes together into a ball.
- Break off generous sized portions of the dough and shape each portion into a disc. Cover the discs with a moist towel so they don't dry out.
- Flatten each disc into a small circle or roti. You can use your hands to shape the dough or a rolling pin. Keep these uncooked rotis covered as well.
- Heat a tawa (iron griddle) or heavy frying pan and place a roti on the hot surface. Drizzle a little ghee along the sides if you want. Press down on all sides with a flat spatula for 10-15 seconds, then flip the roti. Cook for 15 seconds more or until you can see brown spots forming on the surface of the roti.
- Remove the roti from the tawa and brush it with ghee (about ½ teaspoon for each roti). Repeat the same steps with all the rotis. Serve hot with some fresh saag.
Notes
- Use hot water (not boiling) to knead the dough. It makes the dough soft and pliable.
- For extra softness, allow the dough rest for 10 minutes after kneading it, then knead it again just for a minute before making the dough balls or discs.
- Make sure the tawa is quite hot before slapping the roti on it and allow some extra seconds for the roti to cook. These rotis are thicker than your regular wheat rotis, so they need more time to cook properly.
- If you find it challenging to remove the rotis from the surface on which you rolled them, use a flat and broad spatula to lift them off.
- For tips on how to make a gluten free bread, see the subhead 'Variation' in the body of the post.
Thanks for coming! Let me know what you think: